
We made several different centrepieces for our wedding. When we were first thinking about it, we had plans to have sculptures made of copper piping and plumbing materials, with lighting and live succulents, but the logistics became too complex, especially with the electrical aspect, so we decided to rein back our imaginations and make simple stands for the antipasto platters. As well as centrepieces for the guests' tables, we also made a more complex (and rather more dangerous) piece for the technical table, and an octopus sculpture for the Head Table.
Standard centrepieces
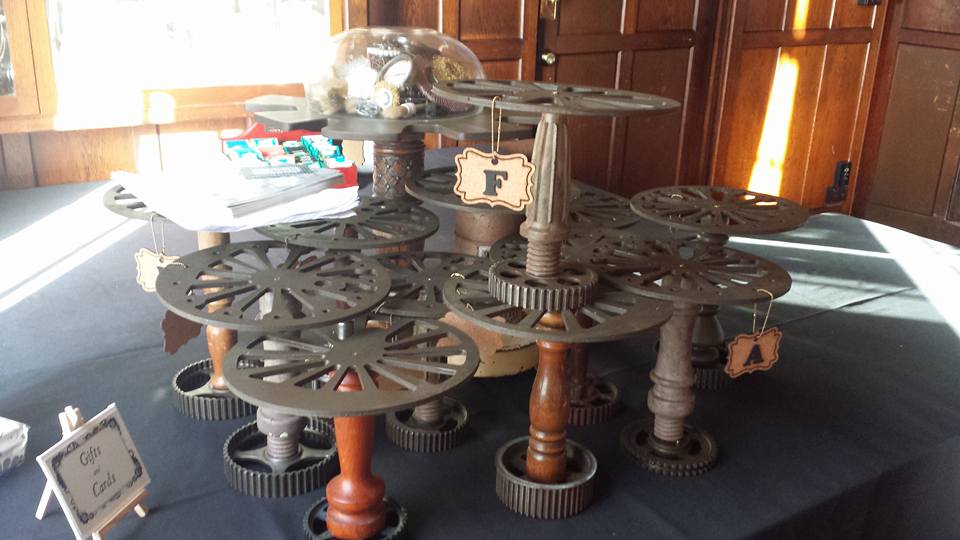
George designed the centrepiece tops along the same lines as the cake support platters, and had them cut at Wellington Makerspace, with minor alterations to allow for a central screw. The bases for most of them are timing gears extracted from old cars at the Pick-A-Part at the same time as the cake stand's crankshaft.
Our search for the uprights took us on a tour of the op-shops and dump/recycling shops of the lower North Island, with candlesticks, bed and chair legs, and pepper grinders amongst the options.
Our search for the uprights took us on a tour of the op-shops and dump/recycling shops of the lower North Island, with candlesticks, bed and chair legs, and pepper grinders amongst the options.
Tech table centrepiece
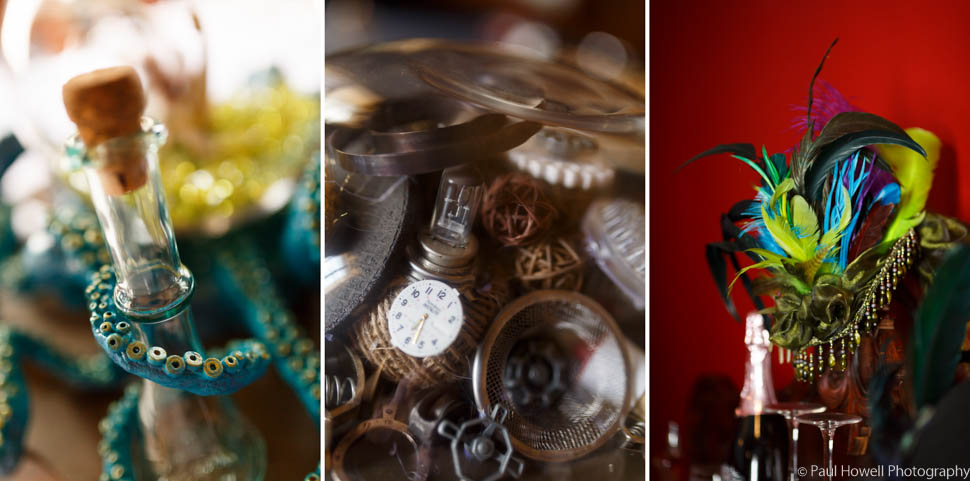
The centrepiece for the technical table came about from elements that I found for the bouquets, but which turned out to be too heavy, too delicate, or, in some cases, too dangerous to use. The concept for the centrepiece was "authorised access only", so the arrangement is under glass - no touching!
The base of the centrepiece is an enormous wooden candleholder from a Miramar op-shop, and the large cog platter is from a deliberately uneven, freehand drawing that George cut out of MDF for me (one of two, the other being used for the Head Table centrepiece). The parts took over a year to gather, but the assembly took a couple of hours, once the paint had dried.
The base of the centrepiece is an enormous wooden candleholder from a Miramar op-shop, and the large cog platter is from a deliberately uneven, freehand drawing that George cut out of MDF for me (one of two, the other being used for the Head Table centrepiece). The parts took over a year to gather, but the assembly took a couple of hours, once the paint had dried.
Head Table centrepiece
Out of all of the things that we made for this wedding, this was the one that took me the furthest out of my comfort zone.
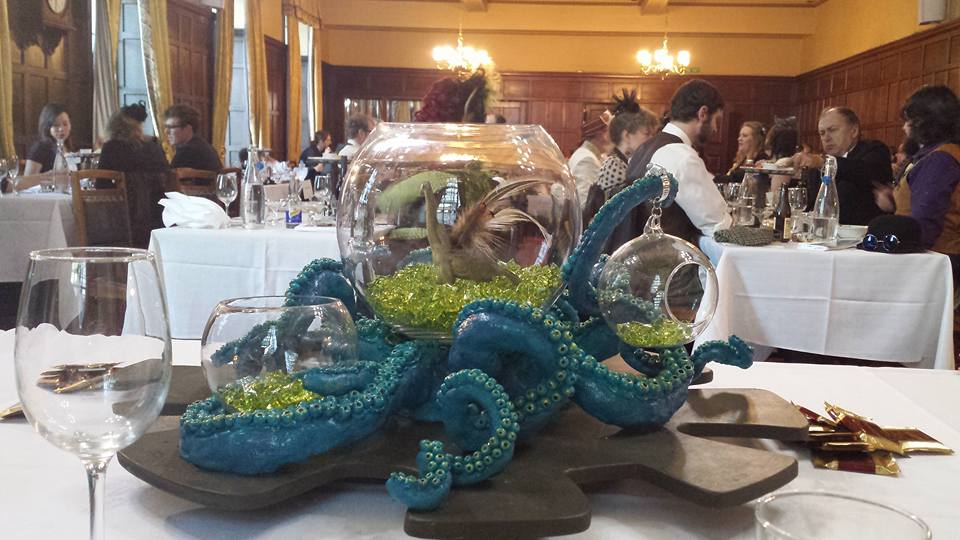
Before this piece, I had never really done any kind of sculpture. With this project, I ended up not only having to build my first armature, but also working with a brand new type of product, Pal Tiya, which is a clay mixed from powder (DAUNTING!), and only has a very short working time before you have to finalise your general shape and start working on the details - very different from polymer clay, which is pretty much malleable forever (until you cook it, obvi). I almost chickened out of using it several times, but George was quietly encouraging, even mixing the first batch for me, so I had to just get into it.
The armature was easy enough, once George had made me the core piece to my design. I made an outline of the project out of wire, so I could get an idea of the tentacle lengths involved. Once I had the basic layout established, I built an armature over the wire out of aluminium foil. Then, I gradually built it up with little Pal Tiya pancakes, until I had my octopus built. It took three days of adding clay, because it was remarkably hard on my hands. Luckily, Pal Tiya can be wrapped and kept moist, and as long as you score the joining points, you can keep adding to it indefinitely.
The armature was easy enough, once George had made me the core piece to my design. I made an outline of the project out of wire, so I could get an idea of the tentacle lengths involved. Once I had the basic layout established, I built an armature over the wire out of aluminium foil. Then, I gradually built it up with little Pal Tiya pancakes, until I had my octopus built. It took three days of adding clay, because it was remarkably hard on my hands. Luckily, Pal Tiya can be wrapped and kept moist, and as long as you score the joining points, you can keep adding to it indefinitely.
Once I had the sculpture done, it was time to paint it, and add all the beads. I decided that the hot glue would look good to make the beads look more like they were part of the tentacle, and this seemed to be the case. I burnt my fingers a great deal, sticking on beads, and that took another several nights because of the focus and frustration required, but eventually, it was time to paint the whole thing. I finished it off with a metallic rub coating in a lovely greenish gold, then George put several gloss coats over the top.
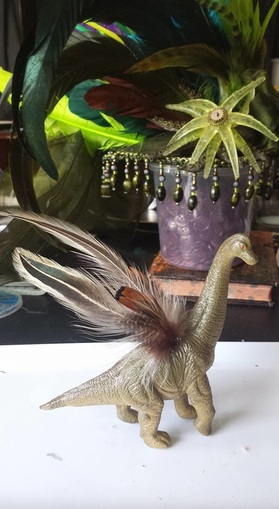
As a final touch, may I introduce my fabulous Sassiosaurus?
 RSS Feed
